Monday, June 30, 2014

Monday Meals: Beer Can Chicken

With the 4th of July holiday right around the corner, we thought we'd share a fun, easy recipe guests will love! Beer can chicken is a great recipe to make for a crowd because it yields a ton of meat, it's a relatively low-maintenance recipe, and it gives you the chance to stand around the grill with a beer on the 4th of July. What more could a Cool Dad ask for? 

Beer Can Chicken

1 whole chicken
1 can of beer- your choice. We went with Modelo 
Olive oil
Seasonings of your choice (we went with a basic barbecue rub, but have also done lemon pepper in the past)


1. Heat your grill for indirect heat. 
2. While your grill is heating up, drink half of your beer. We also recommend sprinkling some of your chicken seasonings into the remaining beer- it allows the flavors to permeate inside the chicken cavity and give it a more intense flavor. You will also want to place a drip pan under where you will place the chicken.


3. Wash chicken, and make sure to remove any innards that might be in the cavity of the chicken. Rub the chicken with the olive oil and seasonings. 

4. Place the beer in the cavity of the chicken. Then carefully place your chicken on the grill. We have a beer can chicken holder, which is pretty helpful and prevents the chicken from falling over on the grill. It's not completely necessary, but it's still nice to have.


5. Cover the grill and cook for about an hour to an hour and a half. Now this is where it got interesting. We discovered our chicken was too tall for the grill.


But! The Wisconsin Test Kitchen was not deterred. We ended up creating a make-shift oven out of foil and an empty wine box. It ended up working out incredibly well, and ended up cooking a five pound chicken in about 2 hours.


Word of warning if you have this same problem: keep a squirt bottle of water close by in case the box starts on fire. 

6. Your chicken is done when a meat thermometer reads 175 degrees in the thigh.


The end result was a juicy, grilled chicken full of flavor. This was a great recipe to try on a hot summer day, because it didn't overheat the house, and it was a great alternative to roasting a chicken. Give it a try this weekend at your cookout, your guests will love it!

Stay Cool,
The Cool Dads Crew

Friday, June 27, 2014

Friday FUN: Braised Pork & Fennel Meatballs


Last Saturday the Wisconsin Test Kitchen went to the farmers market to pick up our first CSA delivery! For those not in the know (and this includes us prior to participating), CSA stands for Community Sponsored Agriculture. You partner with a local farm, and for a monthly fee you receive deliveries of fresh produce, meat, herbs- all kinds of yummy stuff. Sometimes it's a challenge figuring out what to make with some of the ingredients (kohlrabi, anyone?), but the end result is usually pretty delicious. This past week in our CSA box we received:

Strawberries
Salad Mix
Kohlrabi
Turnips
Swiss chard
Fennel

We're fortunate that the farm we partner with also provides us with delicious recipes for cooking inspiration. We looked through the recipes this week, and the idea of pork and fennel meatballs had our mouths watering. We had to give it a try. 

Braised Pork and Fennel Meatballs

Meatball Ingredients:
1 pound lean ground pork
3/4 teaspoon kosher salt
2 cloves garlic, peeled and minced
2 teaspoons toasted fennel seeds
1 teaspoon red pepper flakes
1 tablespoon vegetable oil 

Braising Ingredients:
2 cloves garlic, peeled and finely sliced 
1 small onion, finely sliced
1/2 fennel bulb, trimmed and finely shaved 
1/2 cup dry white wine
1 teaspoons ground fennel
1 28 oz can crushed San Marzano tomatoes 

Combine the pork, garlic, and fennel seeds in a large bowl and season with salt and red pepper flakes. Mix well then form into approximately 14 2-inch round meatballs. Set on a tray in the fridge to firm up while you prepare the braising sauce. 


 In a large Dutch oven heat 2 tablespoons olive oil. Add garlic, onion and fennel. Cook until onions and fennel are very tender and lightly caramelized - about 10-12 minutes. 


Season with salt and pepper then add ground fennel seeds. Deglaze with white wine and pour in tomatoes. Bring to a boil then reduce heat and simmer, covered for 15 minutes.

Set a large saute pan over high heat and add vegetable oil. When very hot, brown meatballs all over, about 2-3 minutes per side. 


Use a slotted spoon to transfer meatballs to the Dutch oven and nestle them in sauce.


 Cover slightly with a lid and simmer for 10 minutes until very tender. Serve with toasted baguette points, or with spaghetti.


Notes from the Test Kitchen

- We didn't have crushed tomatoes readily available, so we used a jar of pasta sauce instead.
 
-We made a loaf of bread to accompany the meal, and some of the meatballs were eaten open face over the bread like a meatball sandwich. The sauce is really, really, delicious. 

-Note on cooking technique: browning doesn't cook the meatballs all the way through- they need to continue cooking in the tomato fennel sauce. We're telling you this in case you have a  picky eater that won't eat tomato sauce, and you want to serve them meatballs plain. Not that it happened in our kitchen or anything... Try slicing the meatballs in half, and let them cook in the pan for another few minutes until they're cooked all the way through. 

Fennel is in season right now; so pick some up at your local farmers market, and prepare a batch of these delicious meatballs. You'll thank us.

Stay Cool,
The Cool Dads Crew

Wednesday, June 25, 2014

Kids in the Kitchen Wednesday: Homemade Ice Cream

In the Arkansas Test Kitchen, it's finally summer, the weather has turned HOT and the kids need an outlet to expend some energy. We've got a perfect way for your kids to shake out some energy and make a delicious snack: homemade ice cream! Bonus: you don't even need a fancy, expensive ice cream maker; just kids with a lot of energy!

Homemade Ice Cream

1/2 cup half and half
1 tsp vanilla
2 1/2 tsp sugar
1 cup salt (rock salt works best)
Ice
2 gallon size Ziploc bags
2 sandwich size Ziploc bags
Kids with a lot of energy

1. Place 1 gallon size Ziploc bag into the other
2. Place 1 sandwich size Ziploc bag into the other
3. Pour half and half, vanilla, and sugar into the double sandwich bags and seal both tightly
4. Place ice into double gallon size bags, fill about half way, pour salt on top of ice.
5. Place sandwich bags into ice mixture, and seal the gallon size bags
6. Let the kids shake, jump around, and run around for 5 minutes to mix up the ingredients.
7. Add toppings and enjoy.

Notes from the Test Kitchen

* The reason for the double bags is we sprang a leak in both size bags when we initially tried this recipe. Double bagging will help protect your house / yard from being covered with the water / ice cream mixtures.

* We also placed our ice cream in the freezer for 10 additional minutes after the shaking to help it to harden up a little more.

* Some adults might remember this ice cream recipe from their high school Chemistry class. This is an awesome, fun way to teach your little ones about science. Check out this Youtube video for information on melting points and chemistry: https://www.youtube.com/watch?v=s1CpSrXa1EI


Sorry we didn't get pictures of this- we were all having too much fun making and shaking to take any pictures. But I can promise you- this is one activity you'll love as much as your kids!
We hope you're having a great first week of summer with your kids!

Stay Cool,
The Cool Dads Crew

Monday, June 23, 2014

Monday Meals: Chicken Pot Pie

Few things are as comforting or delicious as homemade chicken pot pie. Since the weather in Milwaukee has reverted back to fall (foggy, cold, damp); the Wisconsin Test Kitchen decided comfort food to warm up our soul was called for. 

Chicken Pot Pie
Recipe courtesy  of www.iheartnaptime.net

1 pound skinless, boneless chicken breast halves - cubed
1 cup sliced carrots
1/2 cup frozen green peas
1/2 cup sliced celery
1 large or 2 small potatoes
1/3 cup butter
1/3 cup chopped onion
1/3 cup all-purpose flour
1/2 teaspoon coarse salt
1/4 teaspoon black pepper
1/4 teaspoon celery seed
32 oz. carton chicken stock or broth for boiling(reserve 1 3/4 cups chicken broth)
2/3 cup milk
2 (9 inch) unbaked Pillsbury pie crusts

Preheat oven to 425 degrees

In a pot, combine chicken, carrots, peas, potatoes and celery. Add the chicken broth and boil for 15 minutes. Remove from heat, drain (reserving 1 and 3/4 cup chicken broth for filling) and set aside.


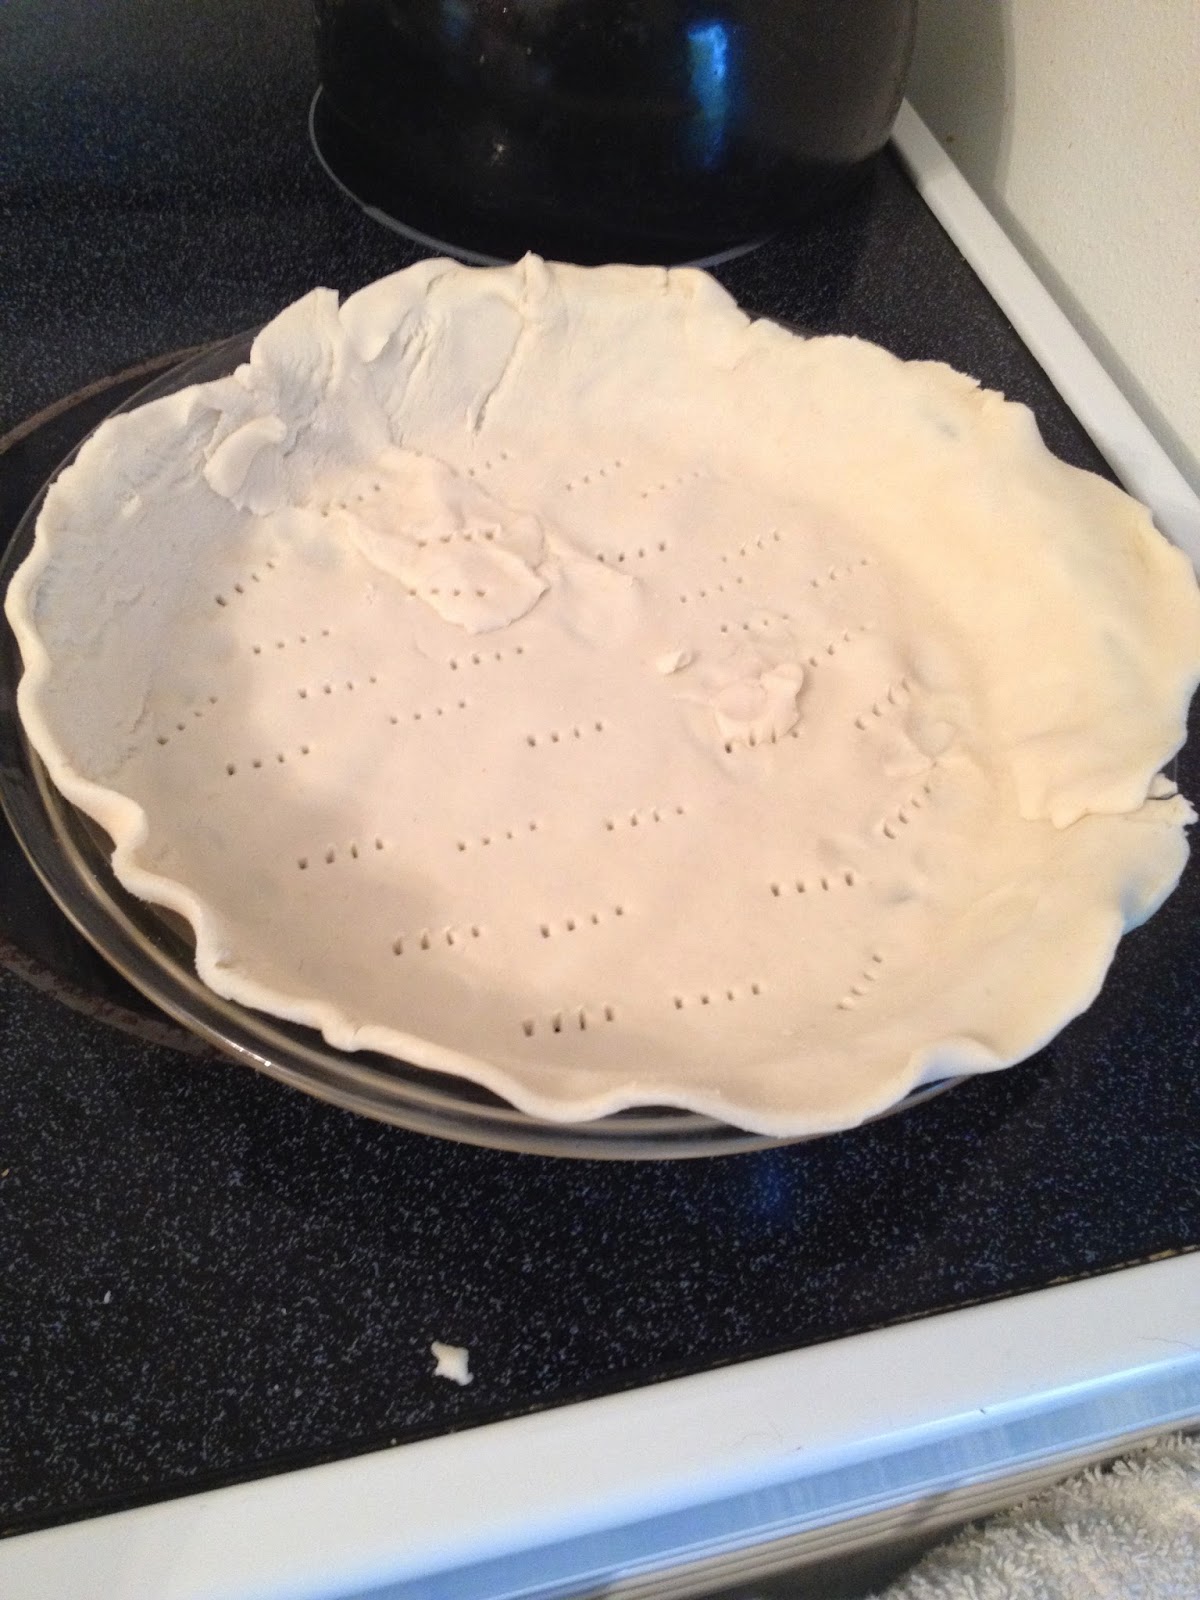
Place the bottom crust on the pie pan and dab with a fork a few times. Place in over and cook for 5-7 minutes.


In a large sauce pan cook onions in butter (over medium heat) until soft and translucent. Stir in flour, salt, pepper, and celery seed. Next, slowly stir in chicken broth remains and milk. Simmer over medium-low heat until thick. Remove from heat and combine with the chicken, carrots, peas, and celery mixture.


Remove pie crust from oven and bump oven down to 375. Place the chicken filling in bottom crust. Cover with top crust, seal edges, and cut away excess dough. Make several small slits in the top to allow steam to escape.


Bake for 25 to 30 minutes, or until golden brown. Cool for 10 minutes before serving.


While it feels like making this pot pie dirtied every single dish in our kitchen; the final product was well worth it. All the members of the test kitchen really enjoyed dinner; and we polished off almost three quarters of the pie. 

The end result was a rich, hearty dish that was the perfect, thick consistency full of lots of vegetables. Next time the pot pie craving hits, we'll be making this again. 

Stay Cool,
The Cool Dads Crew

Friday, June 20, 2014

Friday Fun: Cheesy Potatoes

We post a lot of meat recipes and nothing goes with meat quite like potatoes!

Well, Doug in the Arkansas Test Kitchen disagrees; he believes nothing goes with meat quite like more meat. Or possibly bacon. 

We consider all of these to be acceptable answers. However, man can't live on meat alone; and with that in mind, we're sharing our cheesy potatoes recipe with you. The Wisconsin Test Kitchen has made these twice and after working with the seasonings, we've found them to be an excellent addition to grilled steak and barbecued chicken. 

The great thing about these potatoes is they are made in the slow cooker- which means there's very little guess work involved in making sure all parts of the meal are going to be prepared at the same time. Throw all the ingredients in the slow cooker in the morning, set the timer and you'll have potatoes whenever the rest of your meal is ready! It doesn't get any easier than that.

Cheesy Potatoes

1 32oz bag frozen hashbrown potatoes
1 can cream of chicken soup (cream of mushroom is acceptable if you're looking to make a vegetarian version)
1 cup sour cream (we used Greek yogurt to cut on calories and fat)
2 cups shredded cheddar cheese, divided
1/4 cup melted butter
1 T onion powder
black pepper

Pour frozen hash brown potatoes into slow cooker. 


In a separate bowl, combine the soup, sour cream, 1 cup shredded cheddar cheese, butter and the seasonings.


 Pour over the top of the potatoes and stir. Warning: it's going to be tricky to stir the ingredients well, but that's ok- you'll have plenty of opportunity to stir once the potatoes thaw. 


Cook on low for no more than 4 hours; stirring occasionally during the cooking process to combine. Once the potatoes are done, sprinkle the remaining cup of cheese over the potatoes and let it melt slightly. Serve warm. 

I'm sorry we don't have any pictures of the final product. They went pretty quickly at our Father's Day cookout, and we forgot to snap a quick picture of them. But, they were delicious and everyone from the two year old nephew to all the dads at the table really enjoyed them- the entire bowl of them was completely gone. 

We hope you love this side dish as much as we do; we promise it will be the perfect addition to your favorite grilled meal. 

Stay Cool,
The Cool Dads Crew

Wednesday, June 18, 2014

Kids in the Kitchen Wednesday: Rhubarb Sauce

The Wisconsin Test Kitchen was SO excited to make their first trip to the South Shore farmers market this past weekend! Winter has been insufferably long; and the farmers market is one of those wonderful events we look forward to all winter long. 

It's still early in the season, and pickings were a little slim. The main items we saw at the  produce stands were:

spinach
mushrooms
swiss chard
asparagus
salad greens
green onions
RHUBARB galore!!!

Rhubarb is extremely polarizing. People either love the sweet, bitter flavor of it, or they despise it. In the Wisconsin Test Kitchen, we love it! We are fortunate enough to have a family member with a garden full of rhubarb, and we tend to keep a bag of it in our freezer all winter long; so we can enjoy a summery, rhubarb pie in the dead of winter. 


One of the easiest things to do with rhubarb is to make a sauce that's delicious served warm over ice cream, or even stirred into plain yogurt. It's easy to make, and you'll find a hundred different ways to serve it. 

Rhubarb Sauce

2 1/4 cups sliced rhubarb
1/3 cup sugar
1/4 cup water

In a small saucepan, bring sugar and water to a boil. Add rhubarb, and continue to cook and stir for 5-10 minutes or until rhubarb is tender and mixture is slightly thickened. Remove from the heat. 


Serve warm over ice cream or pound cake; or chill and serve combined in plain yogurt or on pancakes the next day. 


We hope you love this early taste of summer as much as we do!

Stay Cool,
The Cool Dads Crew


Monday, June 16, 2014

Monday Meals: Supreme Enchiladas

Do any of you do meal prep on the weekends to help prepare for a busy week ahead? During the week the Wisconsin Test Kitchen relies on meals prepared over the weekend, lots of leftovers and our slow cooker. Without these three things, we'd live at Subway, or rely on the mercy of our local Chinese food delivery restaurant.

This past weekend, we did a little meal prep and prepared some delicious cheesy, beefy enchiladas stuffed with vegetables. Yum. It's a meal we're looking forward to later in the week.

Supreme Enchiladas

1 lb. ground beef
1 green bell pepper, diced
1 red bell pepper, diced
2 cups salsa, divided
2 cups shredded cheddar cheese, divided
12 6" corn tortillas

Brown ground beef and diced peppers in pan. Once meat is no longer pink and peppers are tender, drain the liquid from the pan. Add 1/2 cup salsa and stir to combine. 


Once warmed through, add 1 cup shredded cheddar cheese. 


Spread 1/2 cup salsa in the bottom of a 9"x13" pan. Wrap the tortillas loosely in saran wrap and microwave on high for 10 seconds (corn tortillas tend to crack and split easily, this will help to keep them in one piece. Flour tortillas will work too- we just prefer corn). 

Spoon meat and pepper mixture into the warmed tortillas, and place seam side down in the baking dish. Repeat. 


Top with remaining salsa. 


To Eat Now: Bake enchiladas at 400 degrees covered for 20 minutes, or until heated through. Remove from oven, top with remaining cheese, and bake uncovered for 2-3 minutes, or until the cheese is melted. 

To Eat Later: Bake enchiladas at 400 degrees covered for 25-30 minutes, or until heated through. Remove from oven, top with remaining cheese, and bake uncovered for 2-3 minutes, or until the cheese is melted.

This dish is hearty, delicious... the whole enchilada if you will!

Stay Cool,
The Cool Dads Cook Crew


Friday, June 13, 2014

Friday FUN: Summertime Salad

The Wisconsin Test Kitchen had some friends over for dinner last Friday night; and we were debating what to make. We had some beautiful pork steaks in the freezer we were going to marinate, and immediately Kevin recommended, "Let's make that salad!" 

Um. That doesn't really help. We make salads on a weekly basis around here. 

"You know, that really good summertime salad! The one with corn, and avocados and cilantro!"

Oh, THAT salad! 

We've made it at least three times so far this summer. It's easy to throw together, it's a great compliment to barbecued meats and it's a hearty salad for vegetarians and vegans (if you omit the Feta cheese). It's also great all by itself for lunch the following day. There's a reason it has become our new go-to summer side dish.

Summertime Salad
Recipe courtesy of: http://www.andwhatiate.com/2013/06/summer-salad-corn-avocado-tomato-feta.html

2 cups frozen, fire roasted corn kernels- thawed
2 ripe avocados, diced
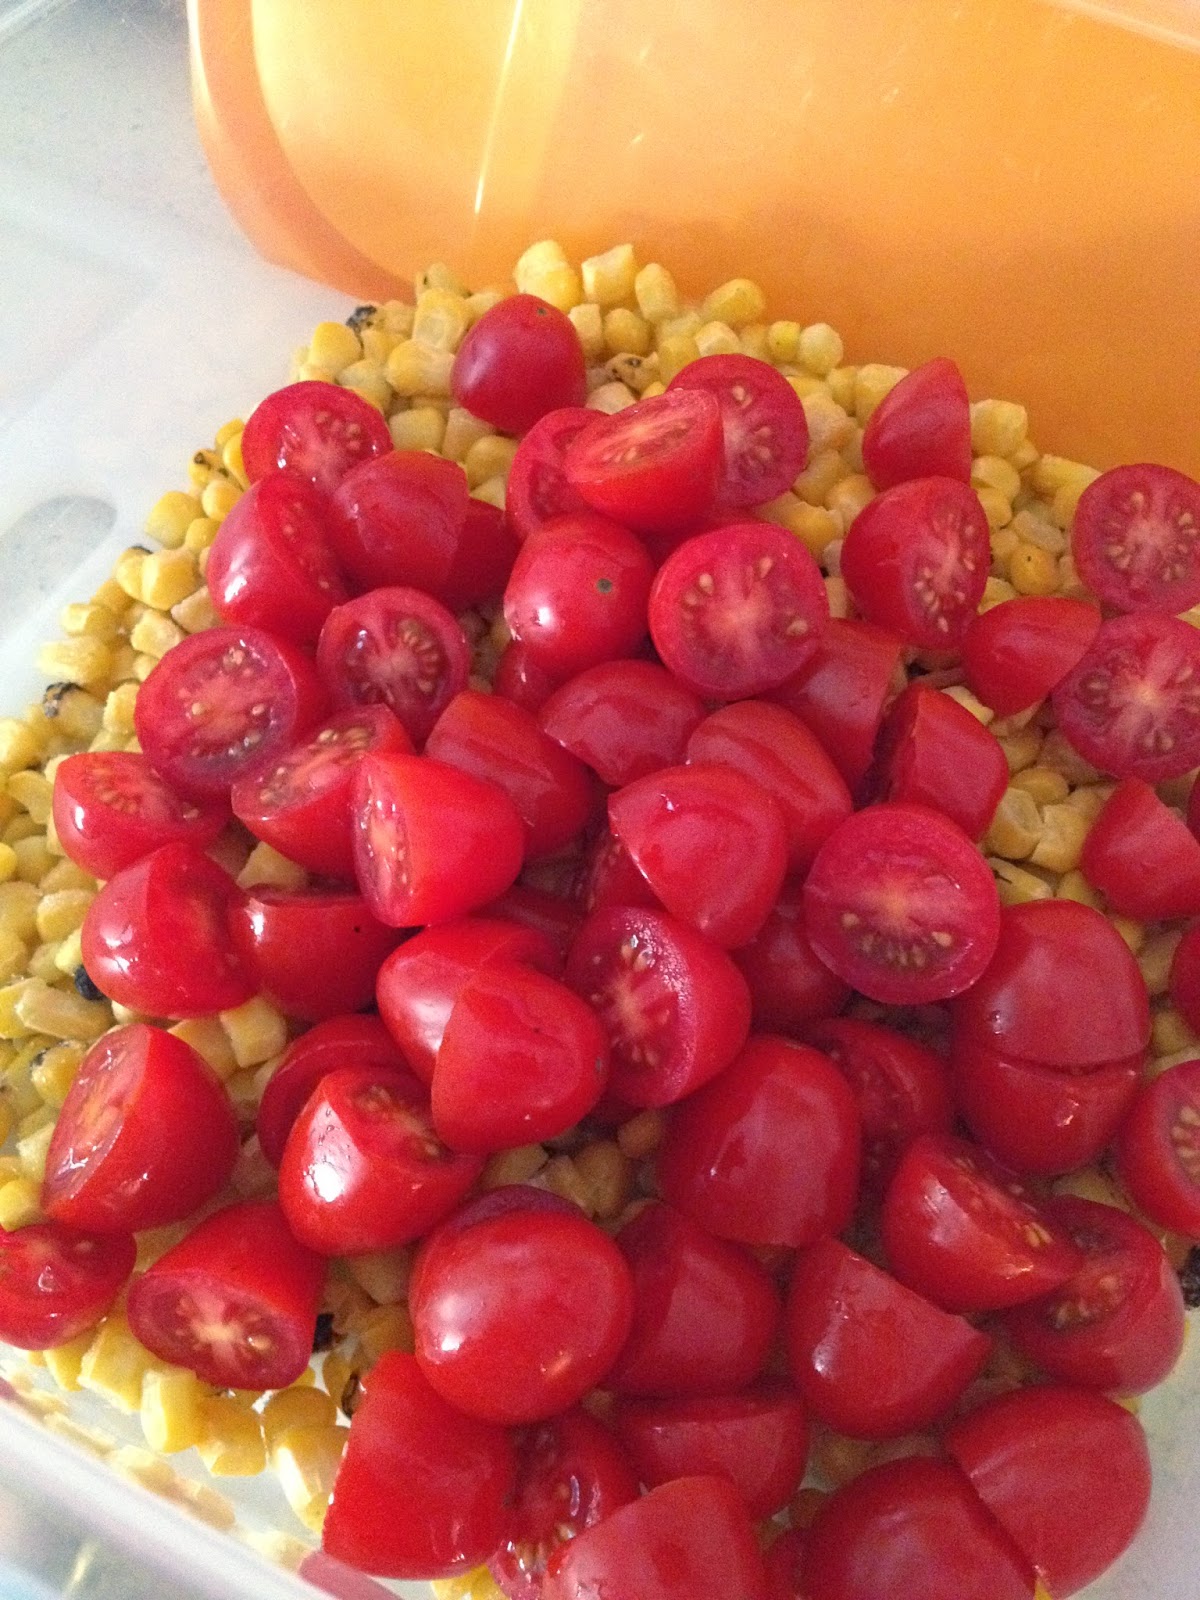
2 cups cherry tomatoes, halved
1/2 fresh cucumber, diced
1/3 cup crumbled feta cheese
1/2 medium red onion, diced
2 tablespoons cilantro, diced

Dressing

1 tablespoon rice wine vinegar
1 tablespoon white vinegar
1 teaspoon garlic powder
1/2 teaspoon salt
1/2 teaspoon black pepper
6 tablespoons extra virgin olive oil

Combine all salad ingredients except for Feta cheese and chill until ready to serve.


Combine dressing ingredients and add to salad along with the Feta cheese right before serving. 


This salad is so easy to prepare; and requires minimal prep time. And bonus? It was the first thing to go at our dinner party. I have a feeling it's not going to be the last time we make it this summer! 


Stay Cool,
The Cool Dads Crew

Monday, June 9, 2014

Monday Meals: Root Beer Pulled Pork

There was quite the debate between the test kitchens last week regarding making pulled pork in the slow cooker. Doug was horrified; and felt it was no way to treat a beautiful cut of pork. However, the Wisconsin Test Kitchen didn't have the time to dedicate to smoking and marinating a pork shoulder for a week day meal... so slow cooker it was! The two test kitchens were able to compromise, and we agreed NOT to refer to it as barbecue. The conversation ended with Doug suggesting we refer to the meal, "As Rebecca, because it's so saucy!"  We'll take it!

No matter what you want to call it, this was a delicious, easy week day meal. It was great looking forward to a hearty, saucy meal after a long day of work. 


Root Beer Pulled Pork
Recipe courtesy of: http://erecipecards.blogspot.com/2014/01/4-ingredient-root-beer-pulled-pork-in.html

4-5 lb. pork shoulder
3/4 cup barbecue rub of your choosing 
2 12 oz. bottles root beer, divided
1-2 cups of your favorite barbecue sauce (we use Sweet Baby Ray's)

Trim the hard fat off the pork shoulder, leaving the soft fat on (which will soften further during the cooking process). 

Rub the barbecue rub all over the pork shoulder. Make sure to cover the entire thing. Wrap the seasoned pork shoulder in plastic wrap, and let it sit for an hour.


Meanwhile, pour one of the bottles of root beer into the slow cooker, and turn on low. Let the soda warm up while the meat is being seasoned.

After an hour, place the pork shoulder in the slow cooker and let it cook for eight hours on low. 


After eight hours, remove the pork shoulder from the slow cooker, and use a meat thermometer to make sure the internal temperature reaches 195 degrees.


 If the meat is at 195 degrees- you're good to go! Remove the excess cooking liquid from the slow cooker, shred the pork and return it to the slow cooker. Combine it with the barbecue sauce and half a bottle of root beer. Let it sit on warm for 30 minutes until heated through.


*If the meat does not reach an internal temperature of 195 degrees; return it to the slow cooker and let it cook for another 30-60 minutes. However, eight hours should be plenty of time for the meat to cook.

Once the pork is warmed through, serve on rolls with coleslaw and pickles. We served our pulled pork on warm hoagie rolls with a side of sweet potato fries. It was a quick, delicious week night meal that yielded plenty of leftovers. 


Despite the fact the test kitchens didn't agree on this recipe- the entire Wisconsin Test Kitchen agreed it was a delicious weeknight meal we can't wait to make again!

Stay Cool,
The Cool Dads Crew

Friday, June 6, 2014

Father's Day Special

Father's Day is coming up; and Doug in the Arkansas Test Kitchen put together a list of gift ideas Dads are sure to love!  
Let us also add we are not paid spokespeople from Amazon- we just buy a lot of stuff from them. Love you, Amazon Prime!

Lodge Cast Iron Grill:

The real genius behind this grill is the fact you can only place two steaks on it; guaranteeing it's the perfect accessory for a romantic dinner for two.  They also come pre-seasoned and ready to use.  

You can purchase it at most sporting good stores or at Amazon.com for around $100.00.

Knives:

You can never go wrong with a good knife or set; and there are a bunch of different brands out there; ranging from expensive to reasonably priced.  I use a brand call Rada, they are very affordable and great quality. I use 4 different Rada products:

Cook's Knife: Amazon.com for around $9.05- this is great for cutting up meat.
Old Fashion Butchers Knife: Amazon.com for around $10.48- this is ideal for cutting up large pieces of meat (i.e. cutting down spare ribs to St. Louis cut)
Cook's Utility Knife: Amazon.com is around $6.79, this is perfect for cutting vegetables.
Knife Sharpener: Amazon.com is around $7.72. It's important to find a way to keep all your new knives sharp! 
BBQ Sauce:
Each part of the country has a different taste profile when it comes to barbecue; but for me here in the Arkansas Test Kitchen I love the Memphis Style; but of course there is Texas, Carolina, and Kansas City. 
Johnny Trigg BBQ Sauce Kit: from Uline for $25.00. How can you not try sauce from the "Godfather of BBQ"?!
Or how about the gift that keeps giving year round: The Carnivore Club, a monthly delivery of MEAT. This meat-tastic gift has different price ranges from $55.00 to $660.00 a month. Who doesn't love meat for Father's Day?!
Additional Gift Ideas:
Instant Read Meat Thermometer:
There are a ton of different meat thermometers out there. I have actually been researching one for myself, and the one that I keep coming back to is the iGrill. Yes, I know it seems like an Apple product; however they are working on an Android app for it, and it seems to have all the functions you'd require.
Or check out the Maverick ET-733  from Amazon for around $80.00.
The ThermoWorks Splash-Proof Super Fast ThermaPen for around $96 at ThermoWorks, is the one the barbecue pros use in competition.
Movies:
There are a host of different movies or shows out there every man would enjoy:
The Mel Brooks Collection on Blu Ray: for less than $40.00
The James Bond Collection on Blu Ray: for less than $130.00
The Thin Man Collection on DVD: for around $55.00
If all else fails, how about a day at the ballpark with some peanuts and hot dogs?

From our team at Cool Dads Cook- Happy Fathers Day to all the amazing dads out there- hope your day is smokin!

Stay Cool,
The Cool Dads Crew